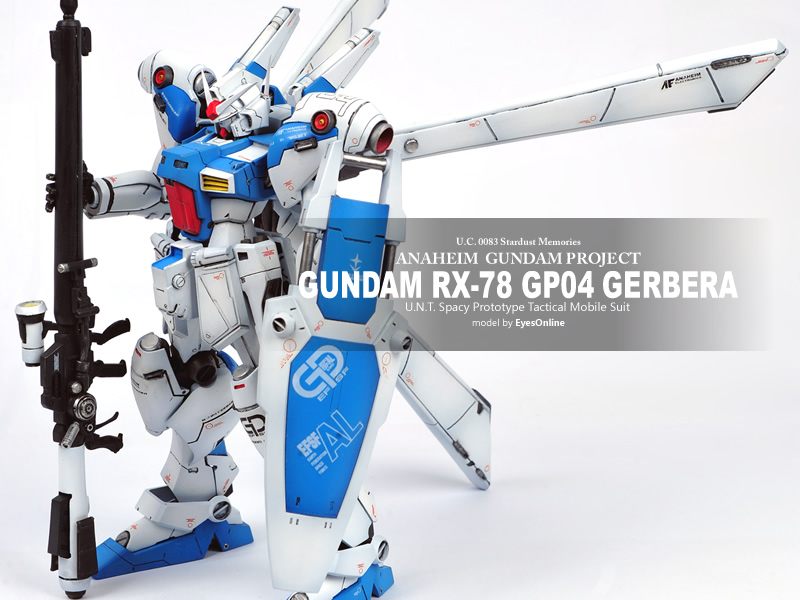
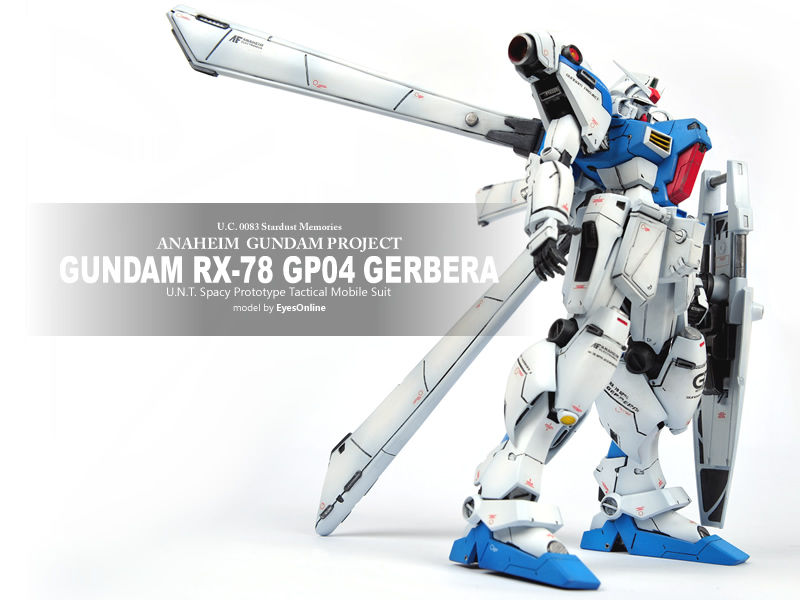
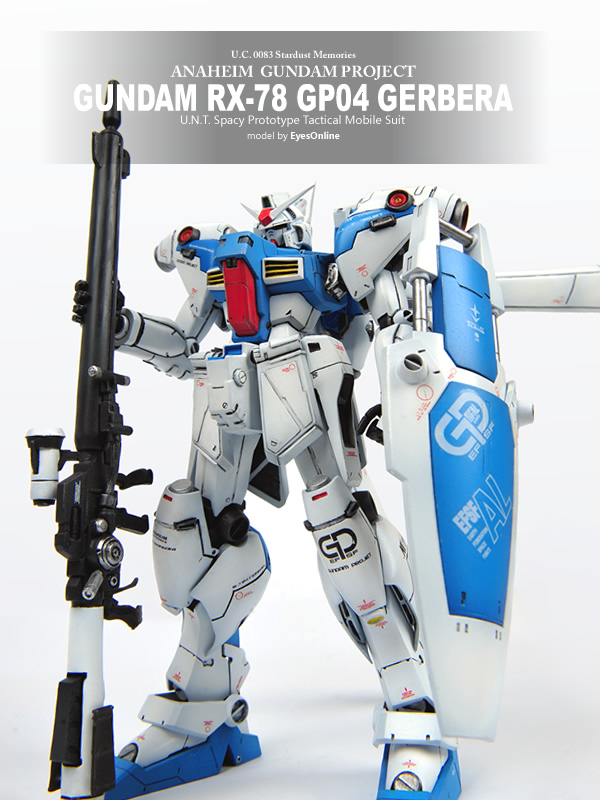
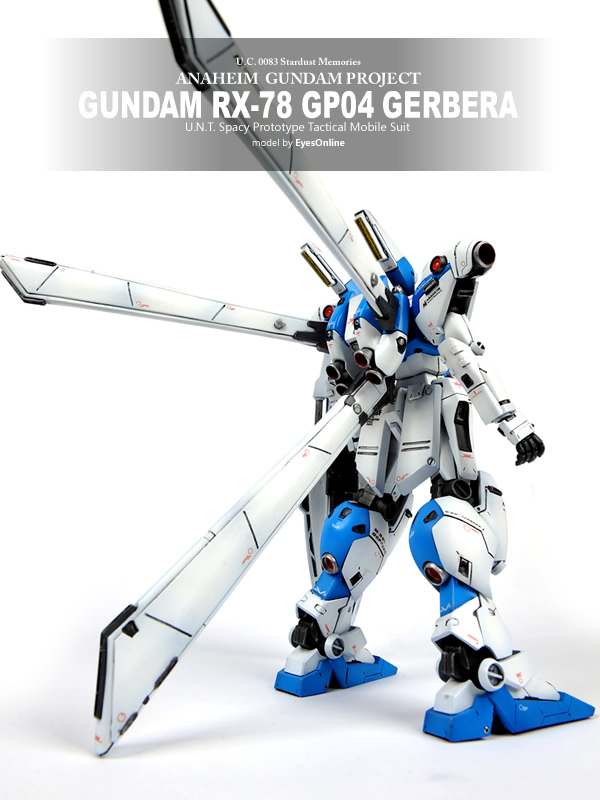
GUNDAM RX-78 GP04 Gerbera
2007-11-06 00:12 | EyesOnline
烂尾了大半年,我的第一只GK,做到吐血的失败作,
当初跳坑时买的翻件极烂,打磨到想死,郁闷...
制作时两次被笔刀戳到手指,郁闷...
撕遮盖时两次连底漆一起剥下一大块,郁闷...
蓝色调的不好看,,郁闷...
终于坚持到草草收尾准备消光时...快用完的喷罐居然"噗哧"井喷了一大口,我囧了...
漆面彻底成麻皮了,只能用打磨膏稍微磨了下修复,还磨糊掉不少水贴,哎...
细节图就不拍了,将就看看吧 囧囧囧
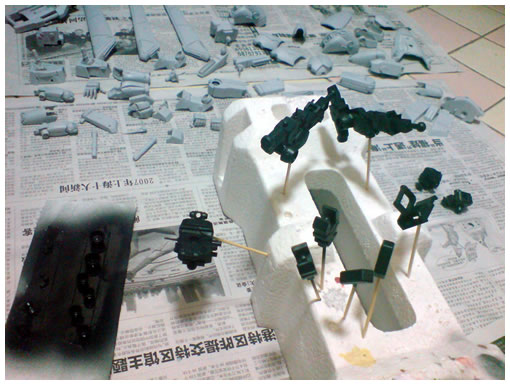
从枪开始...打桩ing
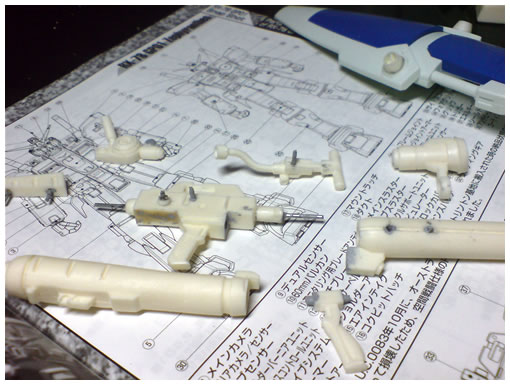
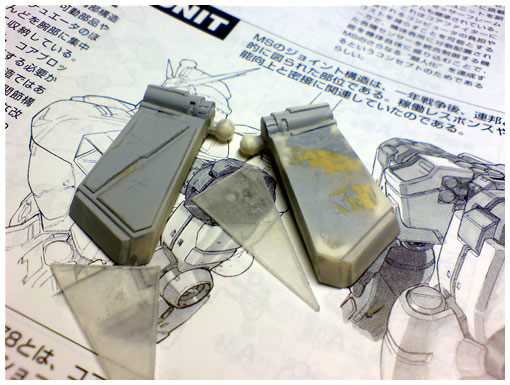
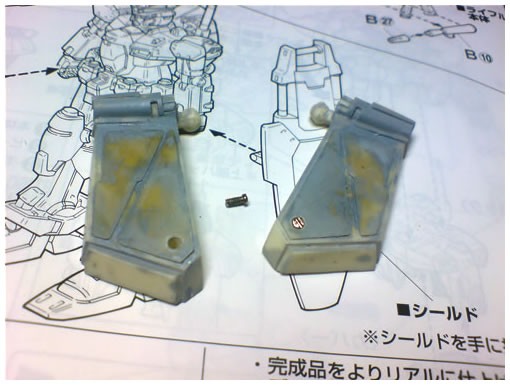
组起来看看,还算挺结实,旁边是盾牌,比GP01多了两个散热口,直接502粘上了

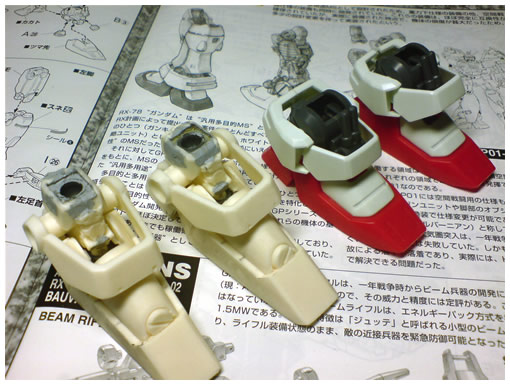
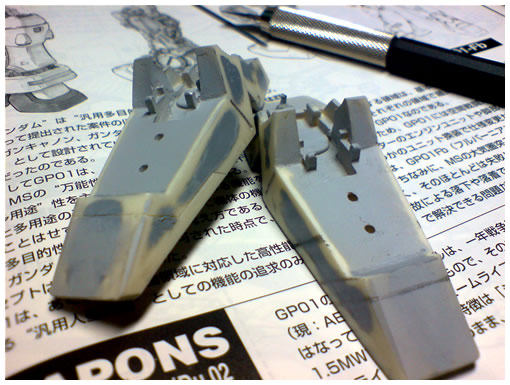
脚掌
和GP01的比较一下,宽度差不多,但长了不少
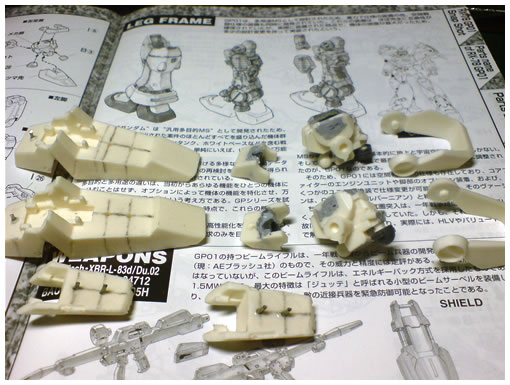
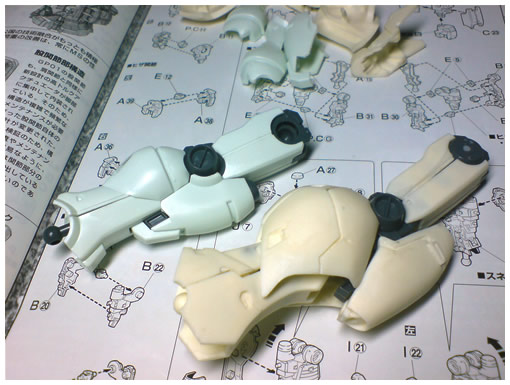
腿部的对比,大腿和小腿都延长了
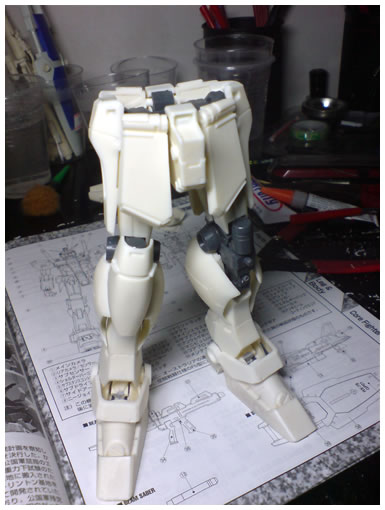
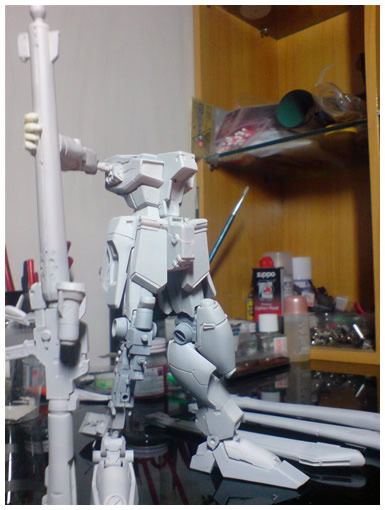
下半身能站直了...
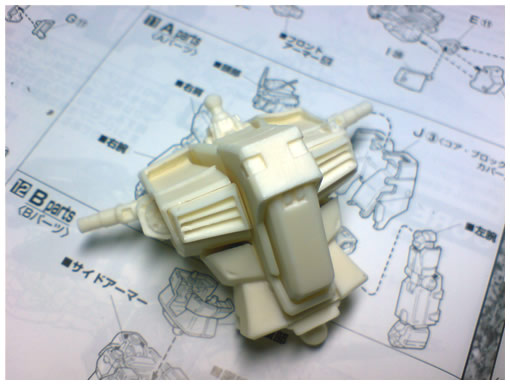
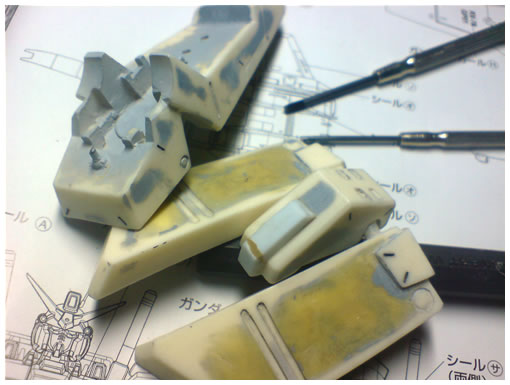
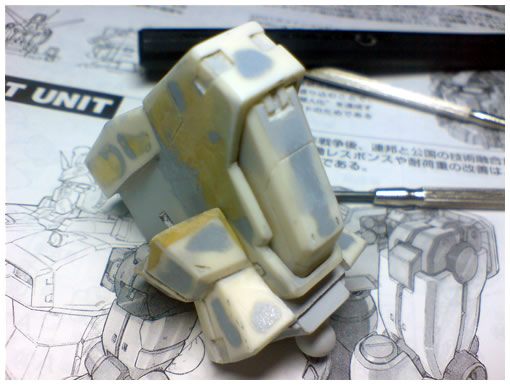
上半身打桩完毕,肩部关节和胸是一体成型的,可动性zero...
组合度不是很好,胸和腰之间有很大的缝,看来只能填AB补土了
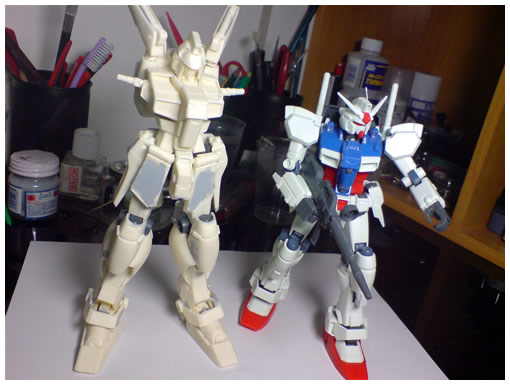
站起来比比个头
胸和腰之间缝实在太大,弄了两坨AB填上先
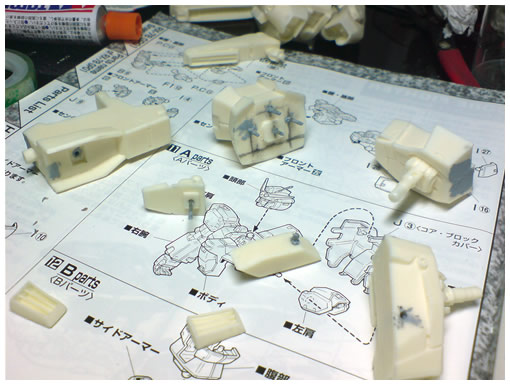
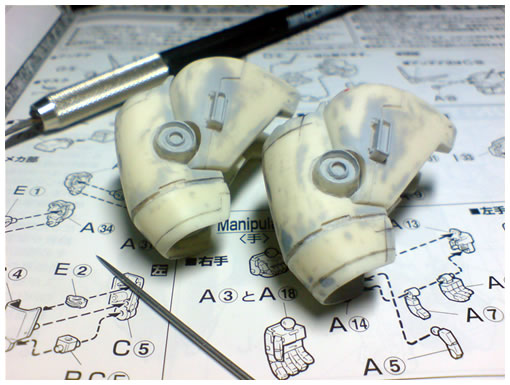
躯干部分的表面处理,由于树脂凝固时收缩的问题,很多应该是平的表面成了凹面,不得不上补土重新填平

原设中机体背后的外挂燃料槽是悬空的,但由于重量问题会导致模型后仰,所以把下面那根的接口处延长了一下
修整后的大尾巴,加了两根管子充细节
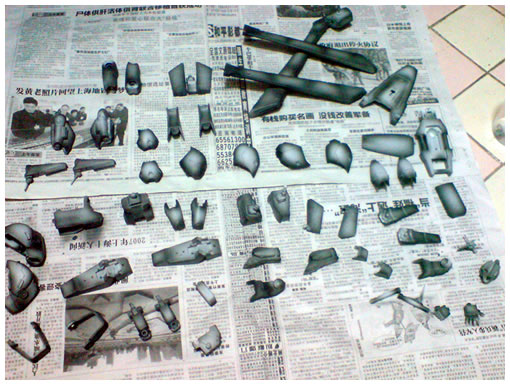
初步的表面处理完毕,泡一晚上洗涤剂先,准备上水补
水补上完,第二轮打磨预备
肩部追加刻线,只有笔刀和直尺,在弧面上刻完4条线累死了...下次看来要买点专用工具了
脚掌追加刻线
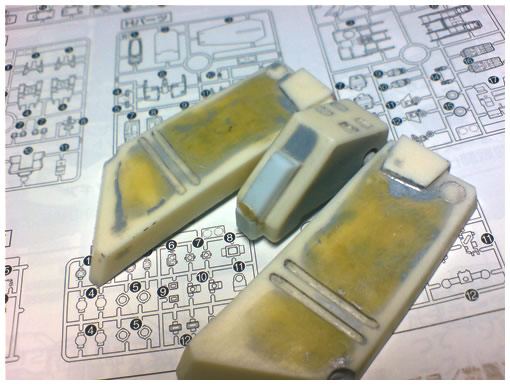
平面塌陷还是很让人头痛的,只能补了又补,顺便用1mm胶板给裤衩自制了一点细节
手头没有0.3mm的胶板,所以随便找了个塑料盒子,裁了4块给前部裙甲增加了点细节
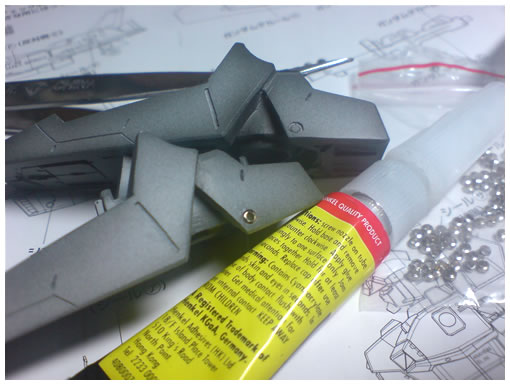
弄了几颗钟表螺丝,给拧上了
用一字螺丝刀加热后,烫了一些细节出来
驾驶舱舱盖增加刻线和细节
第二轮打磨终于完了...累死人

开始上色咯
打阴影
还是没能忍受糊掉的细节...铲掉,换上金属补品
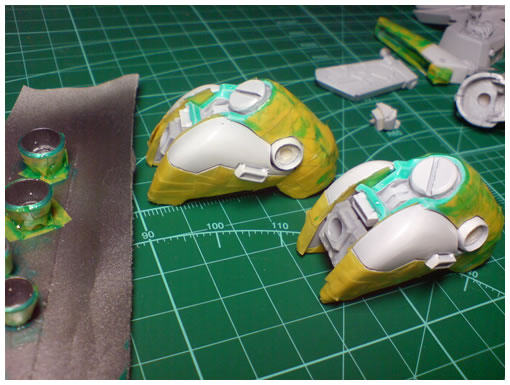
主色上完,貌似喷太厚了,导致阴影不明显了,残念...开始做遮盖
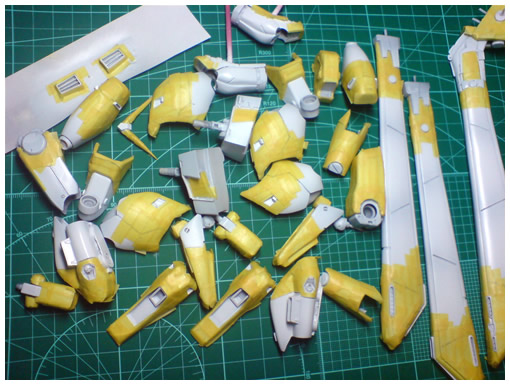
涂遮盖液
肩膀上的喷嘴实在糊得厉害,还是决定铲掉,换上七星同学搞来的GT补品
喷嘴内构就用金属补品了

裙甲内构的分色,偷懒直接笔涂了
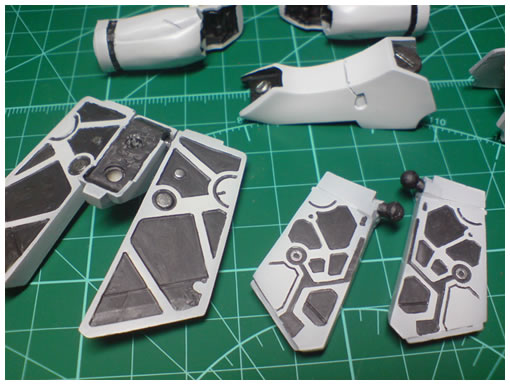
脚板的分色,笔涂...这件烂的,唉

囧脸,还是笔涂
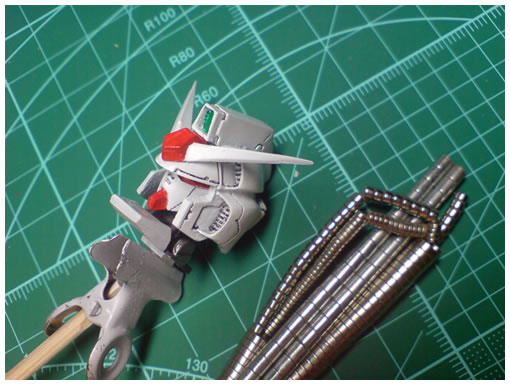
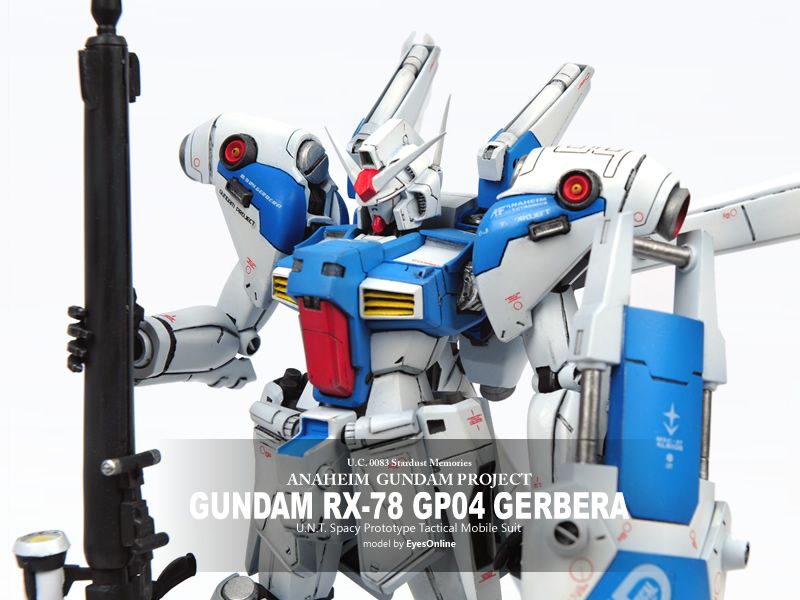
头部完成,和颈部的连接由于是GK的缘故而没有软胶关节,所以用了磁铁来固定,牢固程度和可动性都很理想
终于快完成了,兄弟叁合个影先
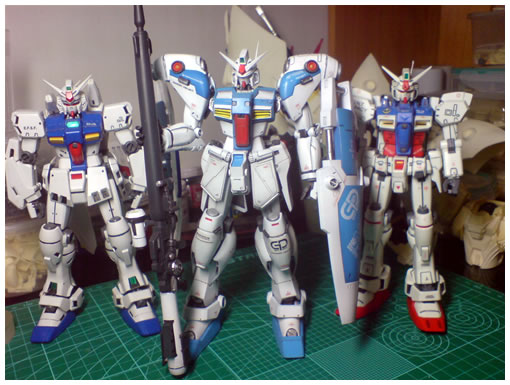
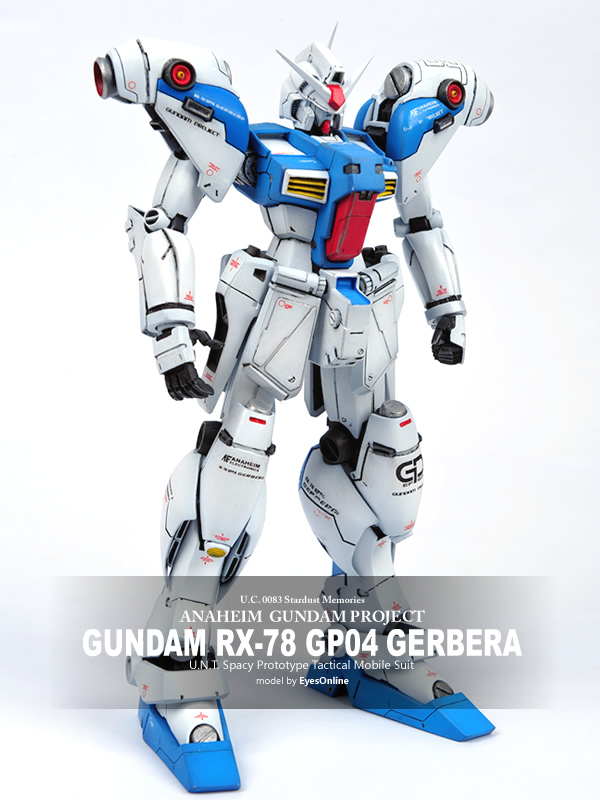
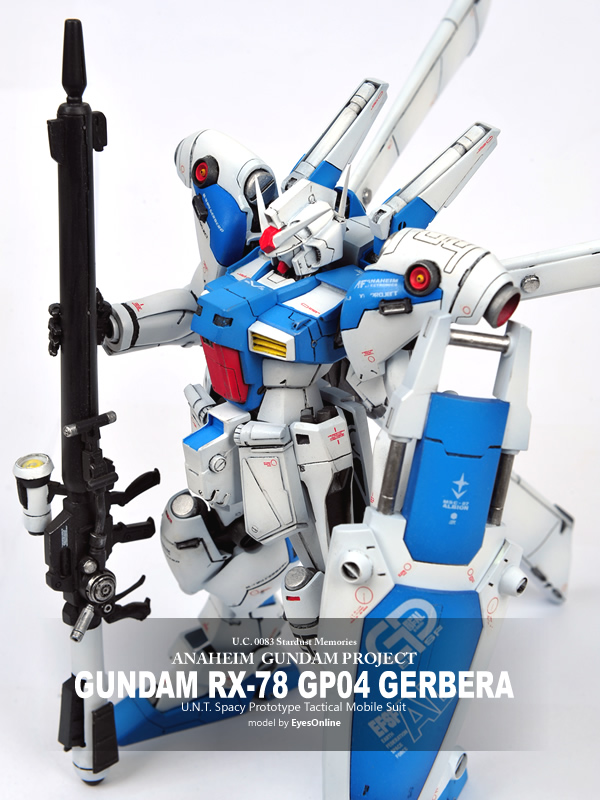
完成图,希望大家喜欢 - v -

当初跳坑时买的翻件极烂,打磨到想死,郁闷...
制作时两次被笔刀戳到手指,郁闷...
撕遮盖时两次连底漆一起剥下一大块,郁闷...
蓝色调的不好看,,郁闷...
终于坚持到草草收尾准备消光时...快用完的喷罐居然"噗哧"井喷了一大口,我囧了...
漆面彻底成麻皮了,只能用打磨膏稍微磨了下修复,还磨糊掉不少水贴,哎...
细节图就不拍了,将就看看吧 囧囧囧
从枪开始...打桩ing
组起来看看,还算挺结实,旁边是盾牌,比GP01多了两个散热口,直接502粘上了
脚掌
和GP01的比较一下,宽度差不多,但长了不少
腿部的对比,大腿和小腿都延长了
下半身能站直了...
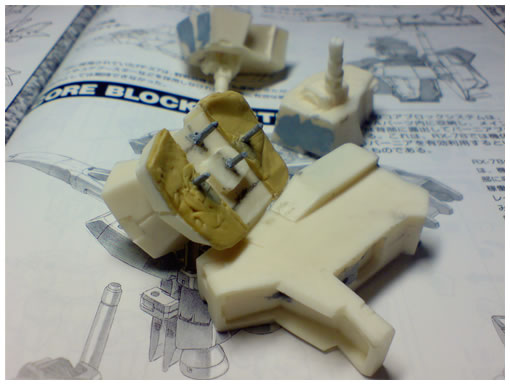
上半身打桩完毕,肩部关节和胸是一体成型的,可动性zero...
组合度不是很好,胸和腰之间有很大的缝,看来只能填AB补土了
站起来比比个头
胸和腰之间缝实在太大,弄了两坨AB填上先
躯干部分的表面处理,由于树脂凝固时收缩的问题,很多应该是平的表面成了凹面,不得不上补土重新填平
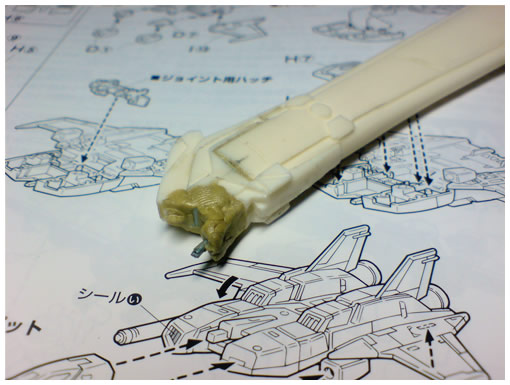
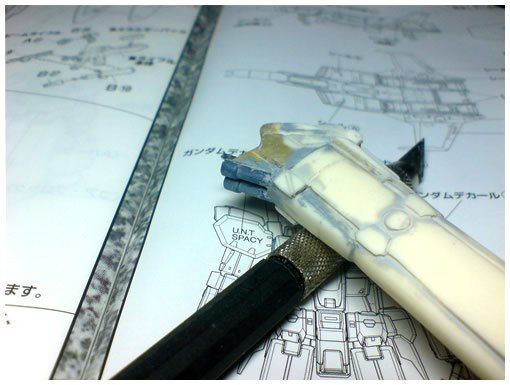
原设中机体背后的外挂燃料槽是悬空的,但由于重量问题会导致模型后仰,所以把下面那根的接口处延长了一下
修整后的大尾巴,加了两根管子充细节
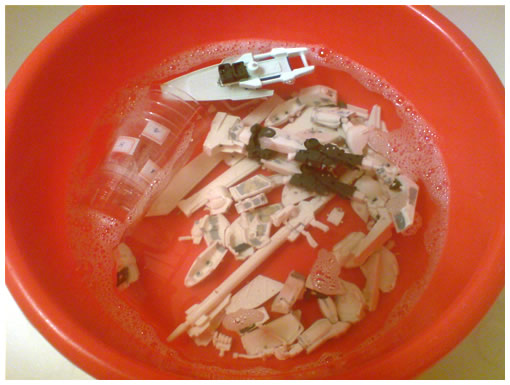
初步的表面处理完毕,泡一晚上洗涤剂先,准备上水补
水补上完,第二轮打磨预备
肩部追加刻线,只有笔刀和直尺,在弧面上刻完4条线累死了...下次看来要买点专用工具了
脚掌追加刻线
平面塌陷还是很让人头痛的,只能补了又补,顺便用1mm胶板给裤衩自制了一点细节
手头没有0.3mm的胶板,所以随便找了个塑料盒子,裁了4块给前部裙甲增加了点细节
弄了几颗钟表螺丝,给拧上了
用一字螺丝刀加热后,烫了一些细节出来
驾驶舱舱盖增加刻线和细节
第二轮打磨终于完了...累死人
开始上色咯
打阴影
还是没能忍受糊掉的细节...铲掉,换上金属补品
主色上完,貌似喷太厚了,导致阴影不明显了,残念...开始做遮盖
涂遮盖液
肩膀上的喷嘴实在糊得厉害,还是决定铲掉,换上七星同学搞来的GT补品
喷嘴内构就用金属补品了
裙甲内构的分色,偷懒直接笔涂了
脚板的分色,笔涂...这件烂的,唉
囧脸,还是笔涂
头部完成,和颈部的连接由于是GK的缘故而没有软胶关节,所以用了磁铁来固定,牢固程度和可动性都很理想
终于快完成了,兄弟叁合个影先
完成图,希望大家喜欢 - v -